Intro
I had an old HP Pavilion from 2010 running my NAS and home server containers, but it finally started to crap out. The motherboard began failing in mysterious ways and the NAS software I had running on it kept giving me lots of problems (old OpenMediaVault install). When I tried to update the server, I just ran into more and more problems. THEN I remembered a pile of parts sitting in my cabinet that had once been a Batocera emulation machine. I figured those parts had more than enough power to rebuild my homelab server stack and NAS capabilities. The only problem? No case. The HP tower case has all the proprietary HP metal from 2010 jangling around, so my normal consumer PC parts can't fit in it for reuse. All my other home networking and servers (read, repurposed laptops) are on an Ikea BROR shelving rack, and I don't have an extra shelf for it. Intro - cardboard :)
The Platform
Cardboard is a material I am always looking for ways to leverage because I have plenty of it floating around. I've built a spice box and other storage caddies from cardboard in the past, as well as making DIY woodworking templates out of it. However, I've never used it for something that had to be structurally sound enough to float a computer between uprights. I took some thicker corrugated cardboard from a shipping box and glued it up in a alternating stack, making sure that I could cut the required dimensions to fit in the BROR rack out of it. This consumed almost the entire box and 5 sticks of hot glue, but in the end I had a sheet of cardboard that I felt was pretty sturdy and bend resistant. I squared two edges of the cardboard up using a tracksaw (bougie) and cut out the full dimensions of the BROR shelf cavity. This ended up being a 25.5" x 15.5" rectangle.
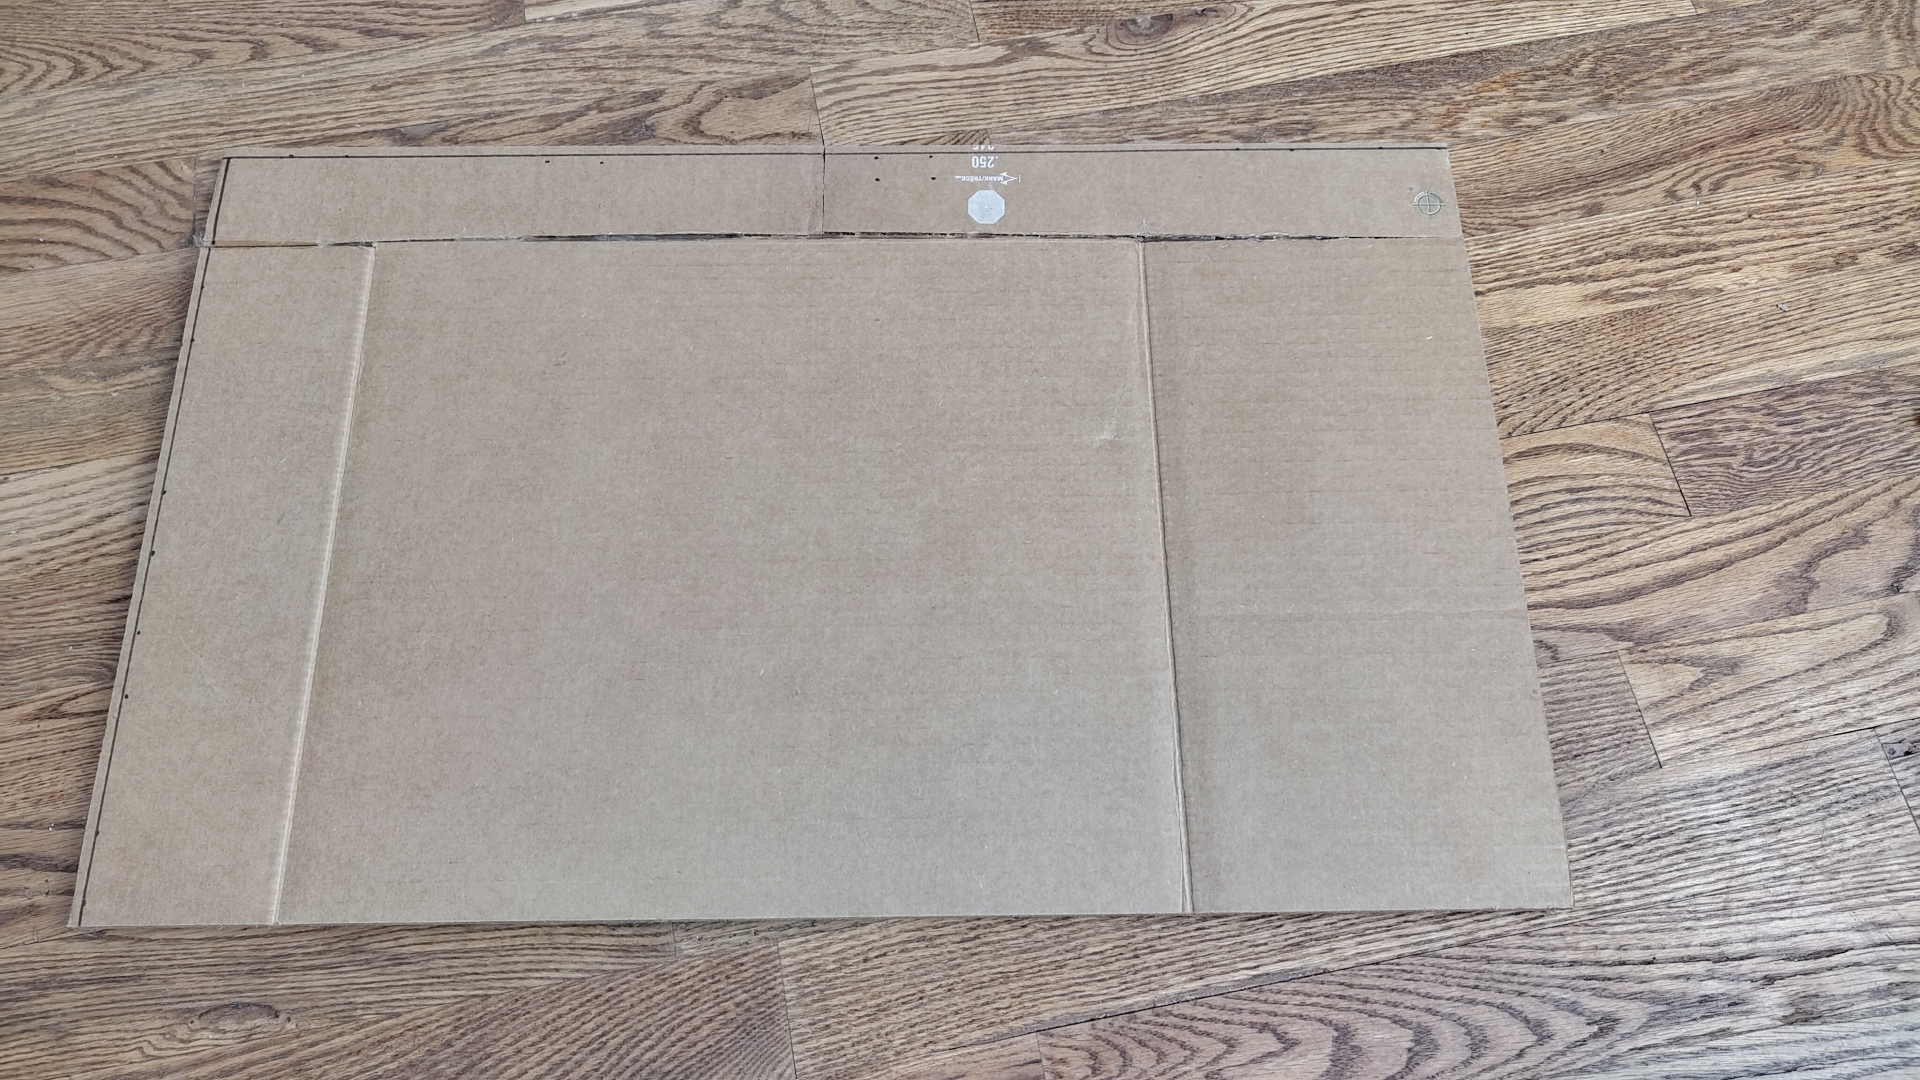
^ Here you can see the mashup of panels I ended up gluing together in order to get the correct size
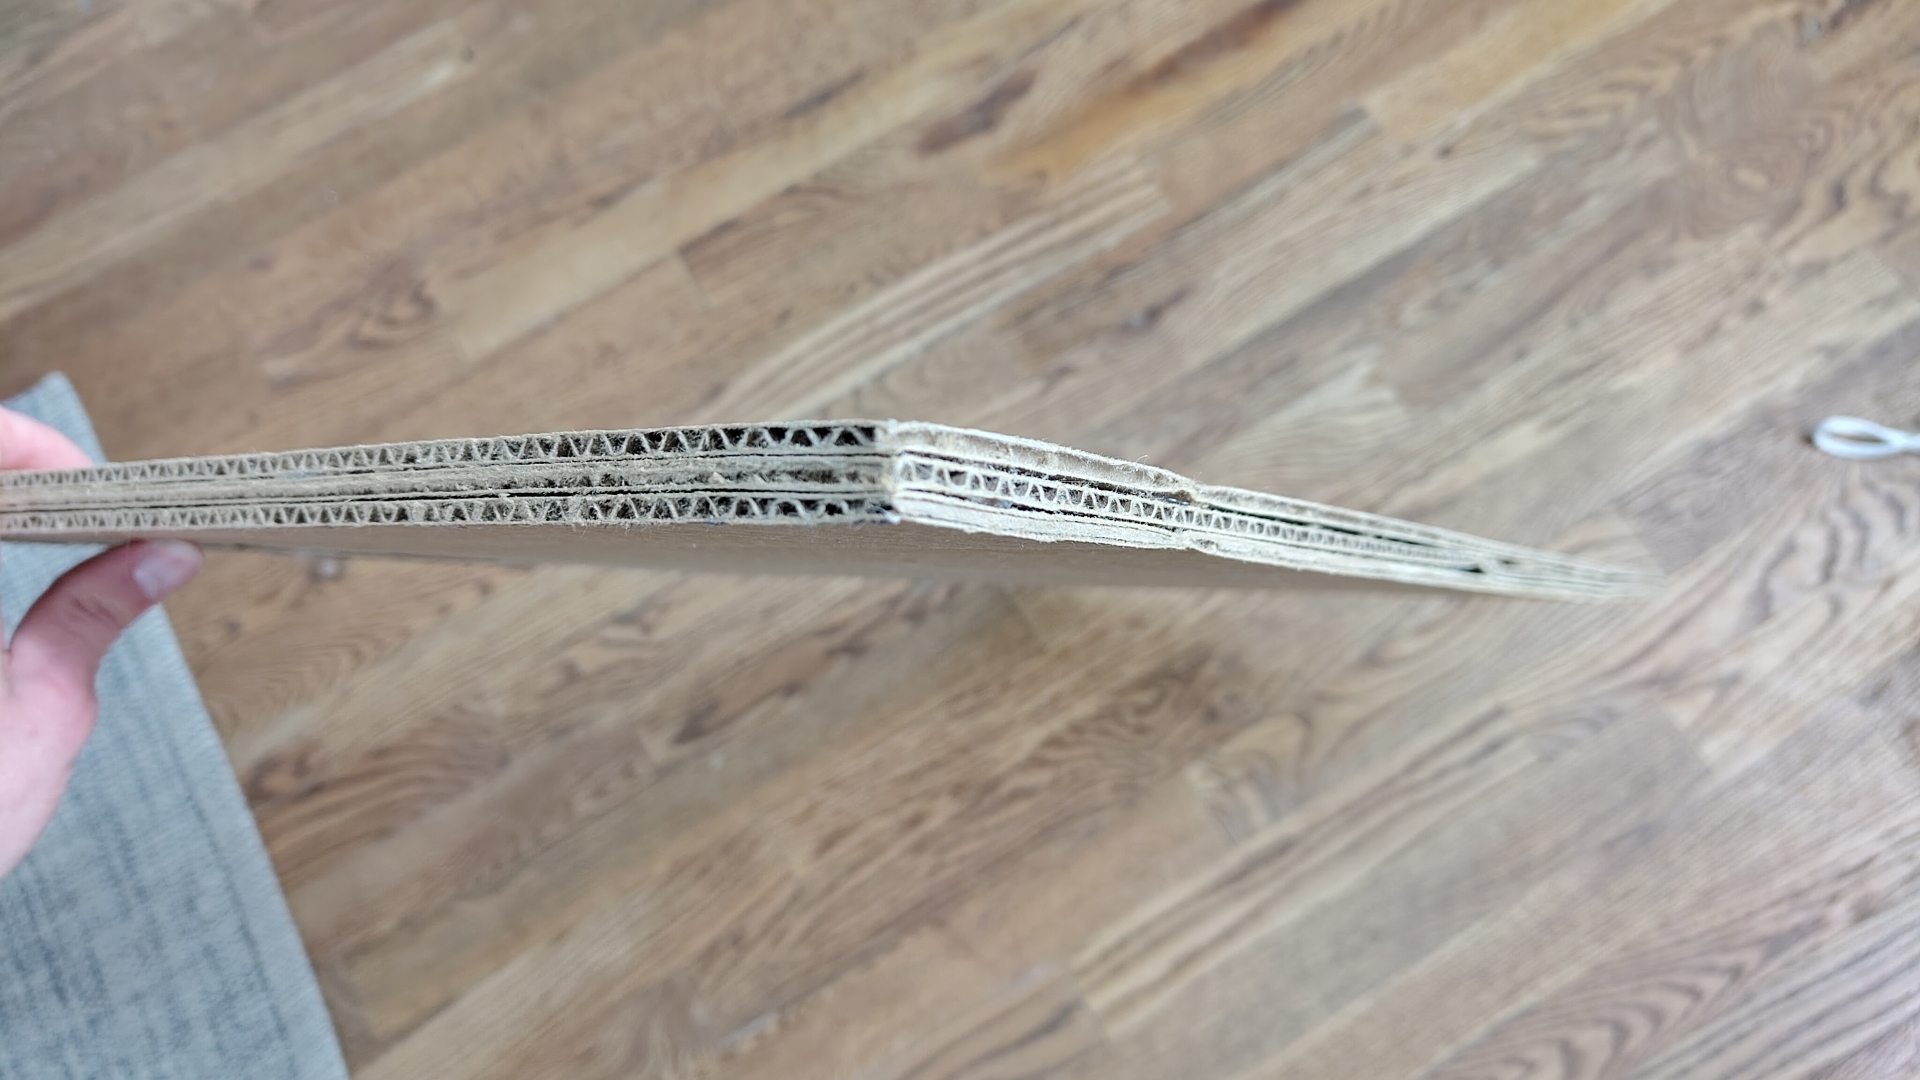
^ Here are the three layers which you can see alternate in direction to improve structural stability.
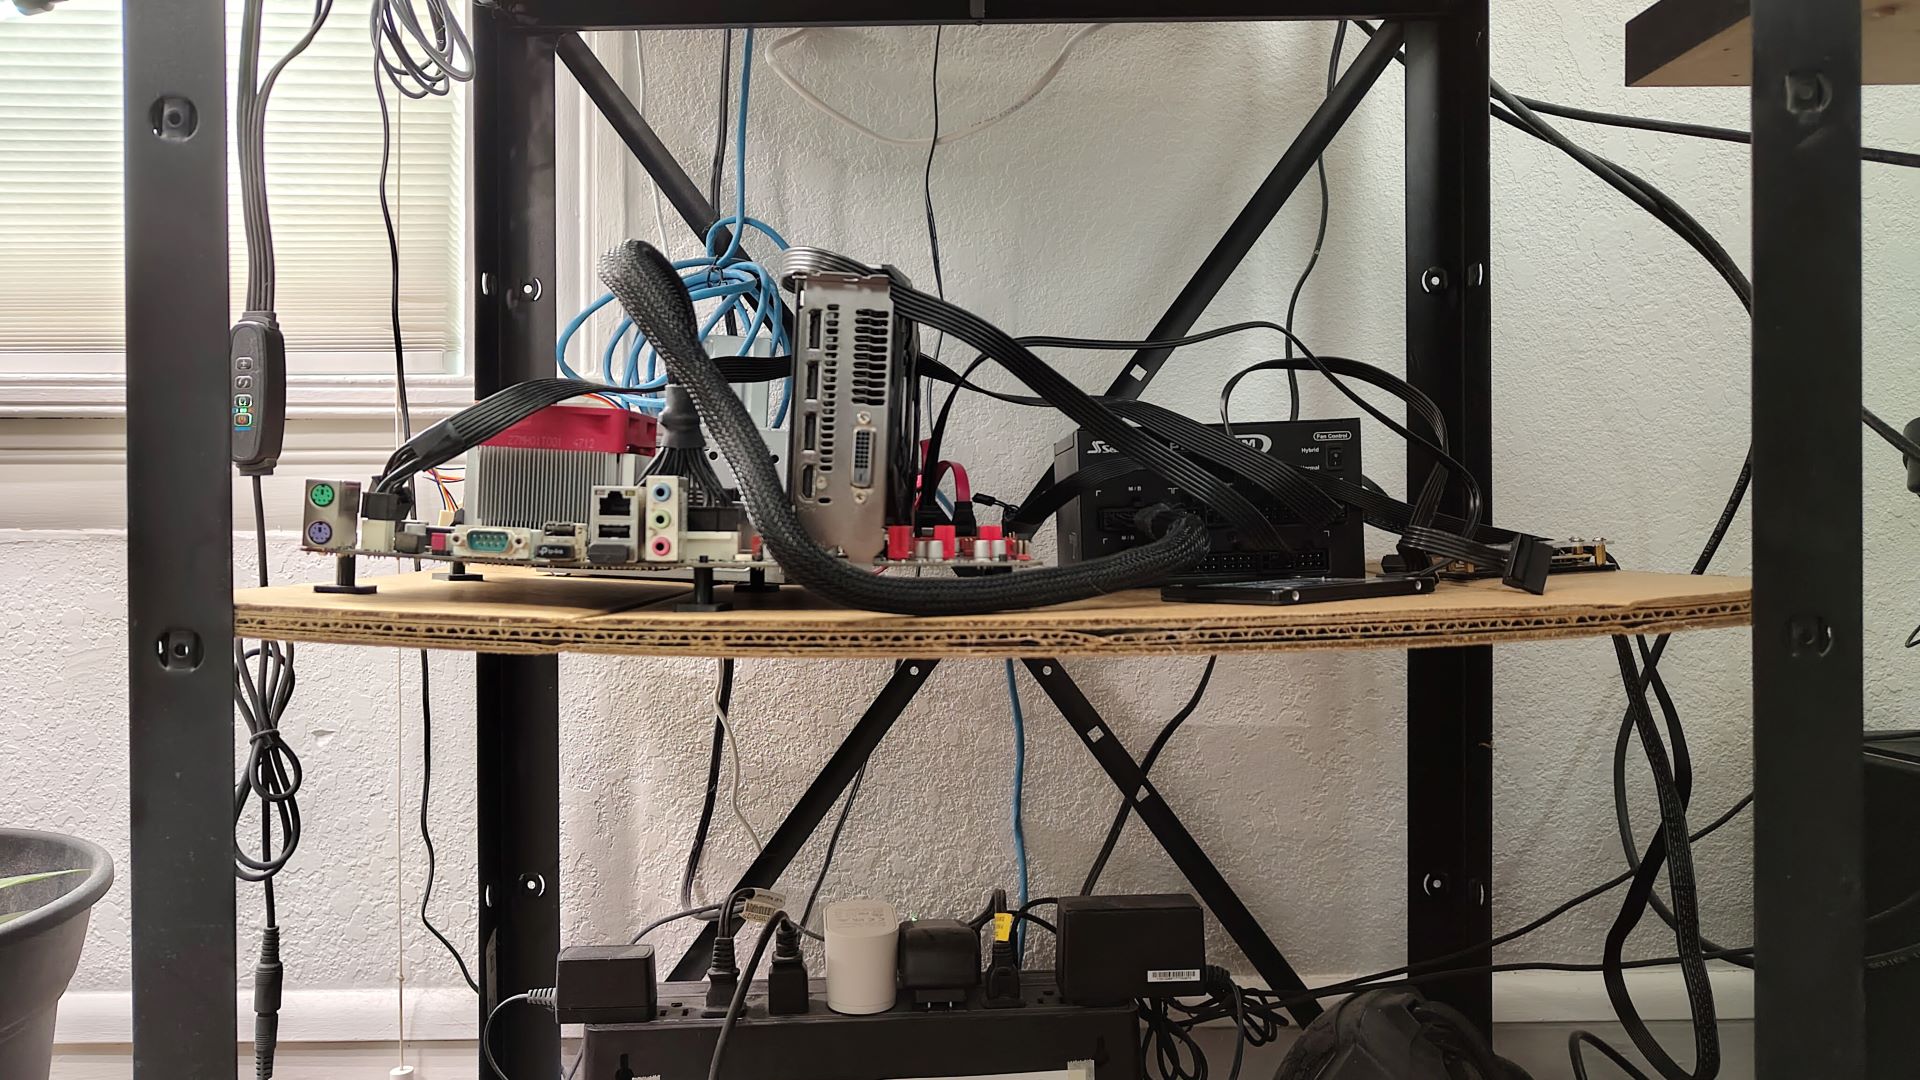
A quick test fit of all my case-less parts confirmed that I would have plenty of space to "build" my server.
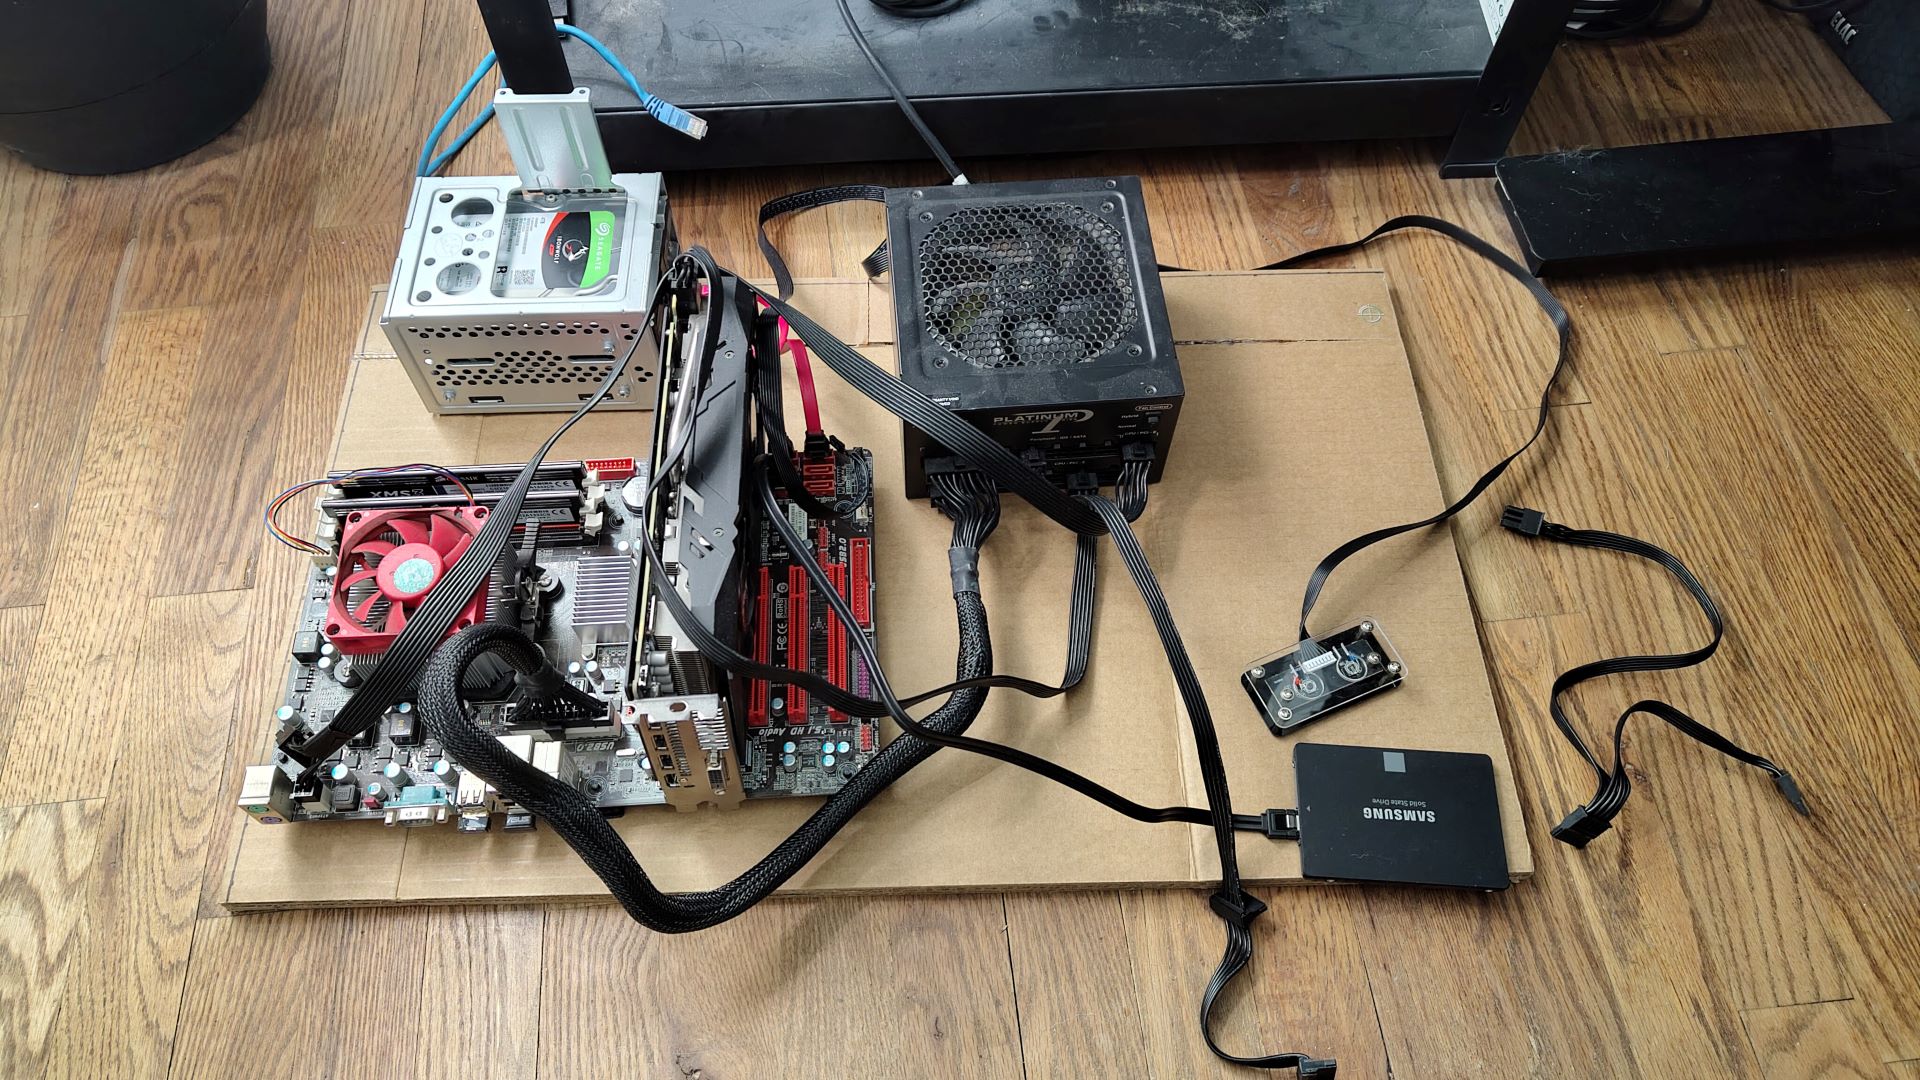
^ Parts on the sheet
Now I had to test fit my cardboard sheet into the BROR shelving rack:
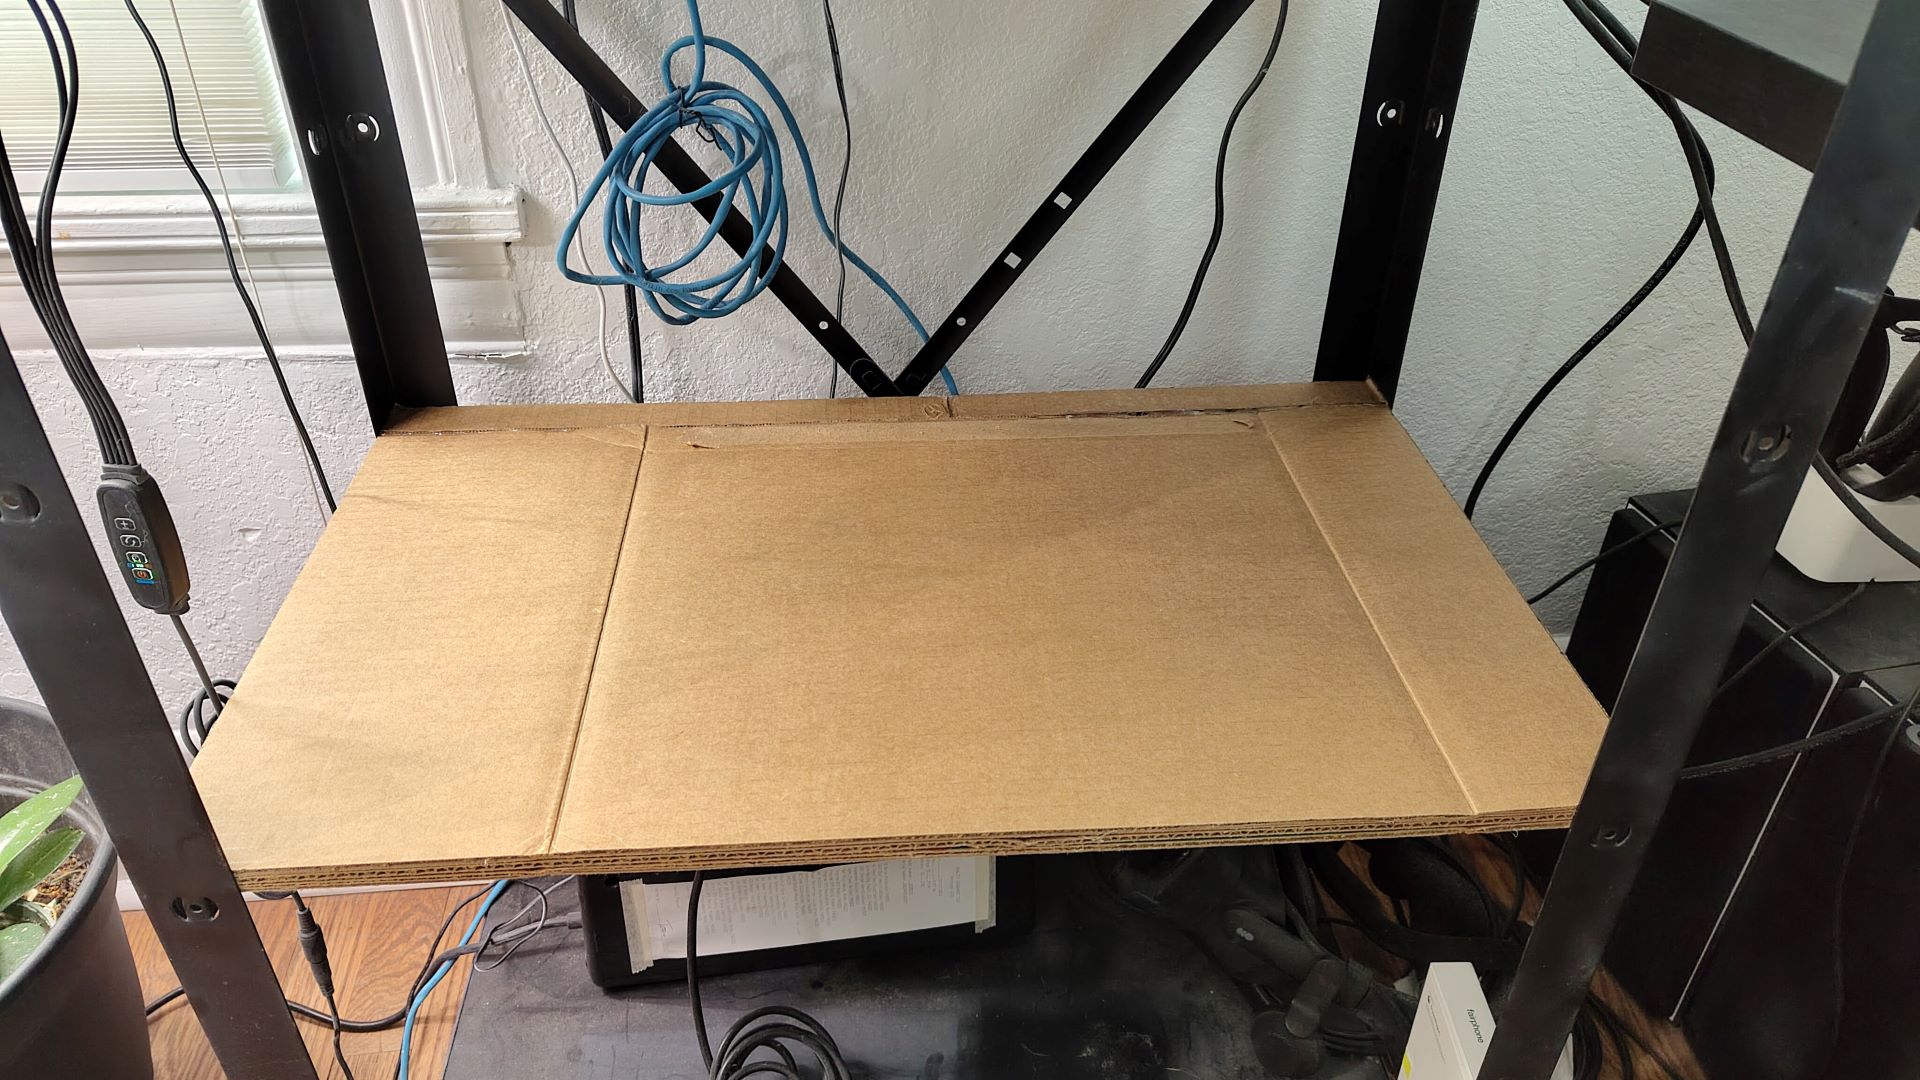
^ Fits like a glove
With the successful test fit in the rack I was clear to proceed with "building" the server. Mostly just arranging the parts on the sheet with an open-concept floorplan and plugging in the ethernet and the power cable! But first I wanted to make sure that the cardboard could take the weight I was about to place on it without bending in half. I placed a 12kg weight in the middle of the cardboard as a test:

^ Weight test successful
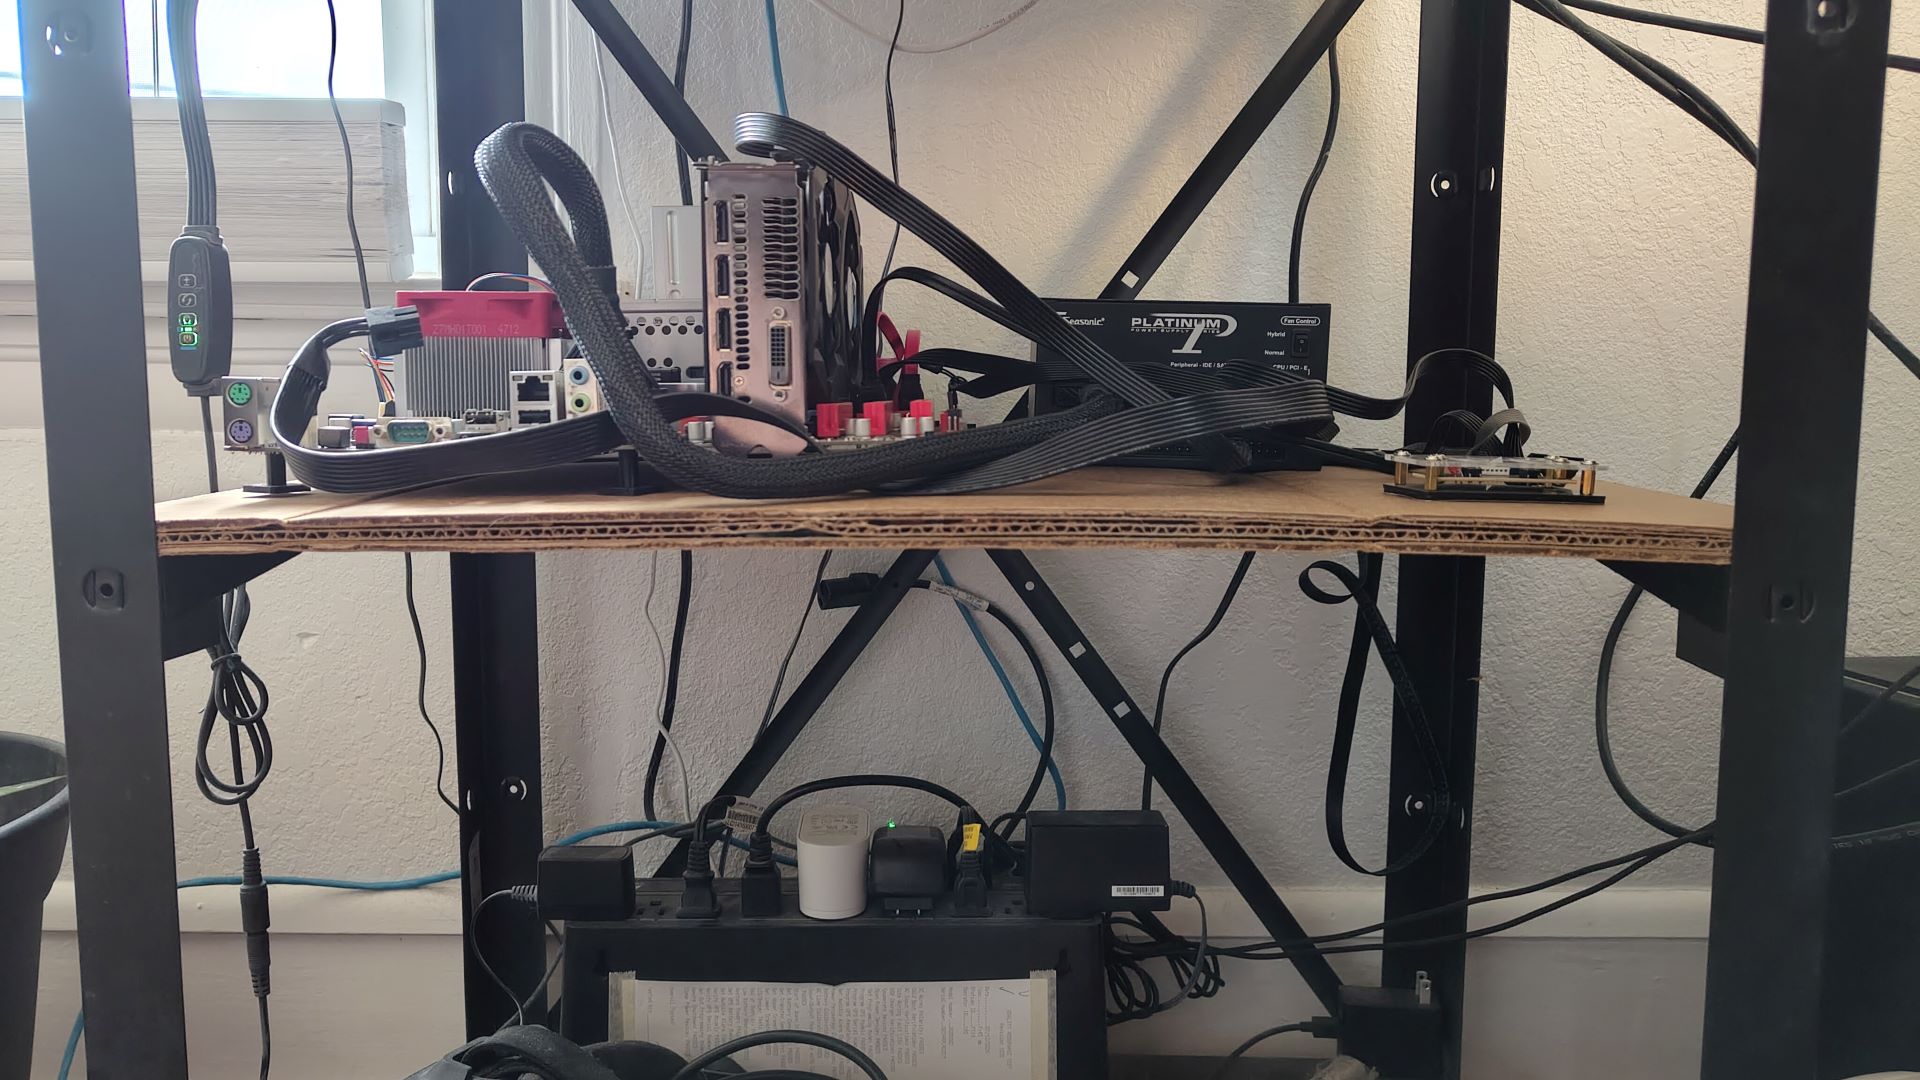
With my cardboard sheet holding up approx. 50% more weight than the computer I was going to put on it, I felt safe moving on to placing all the parts onboard:
^ Not bad flex????
Now is probably a good time to mention that the motherboard isn't just sitting flat on the cardboard. I 3D printed out some testbench style motherboard standoffs which go up into the regular standoff holes on the motherboard.
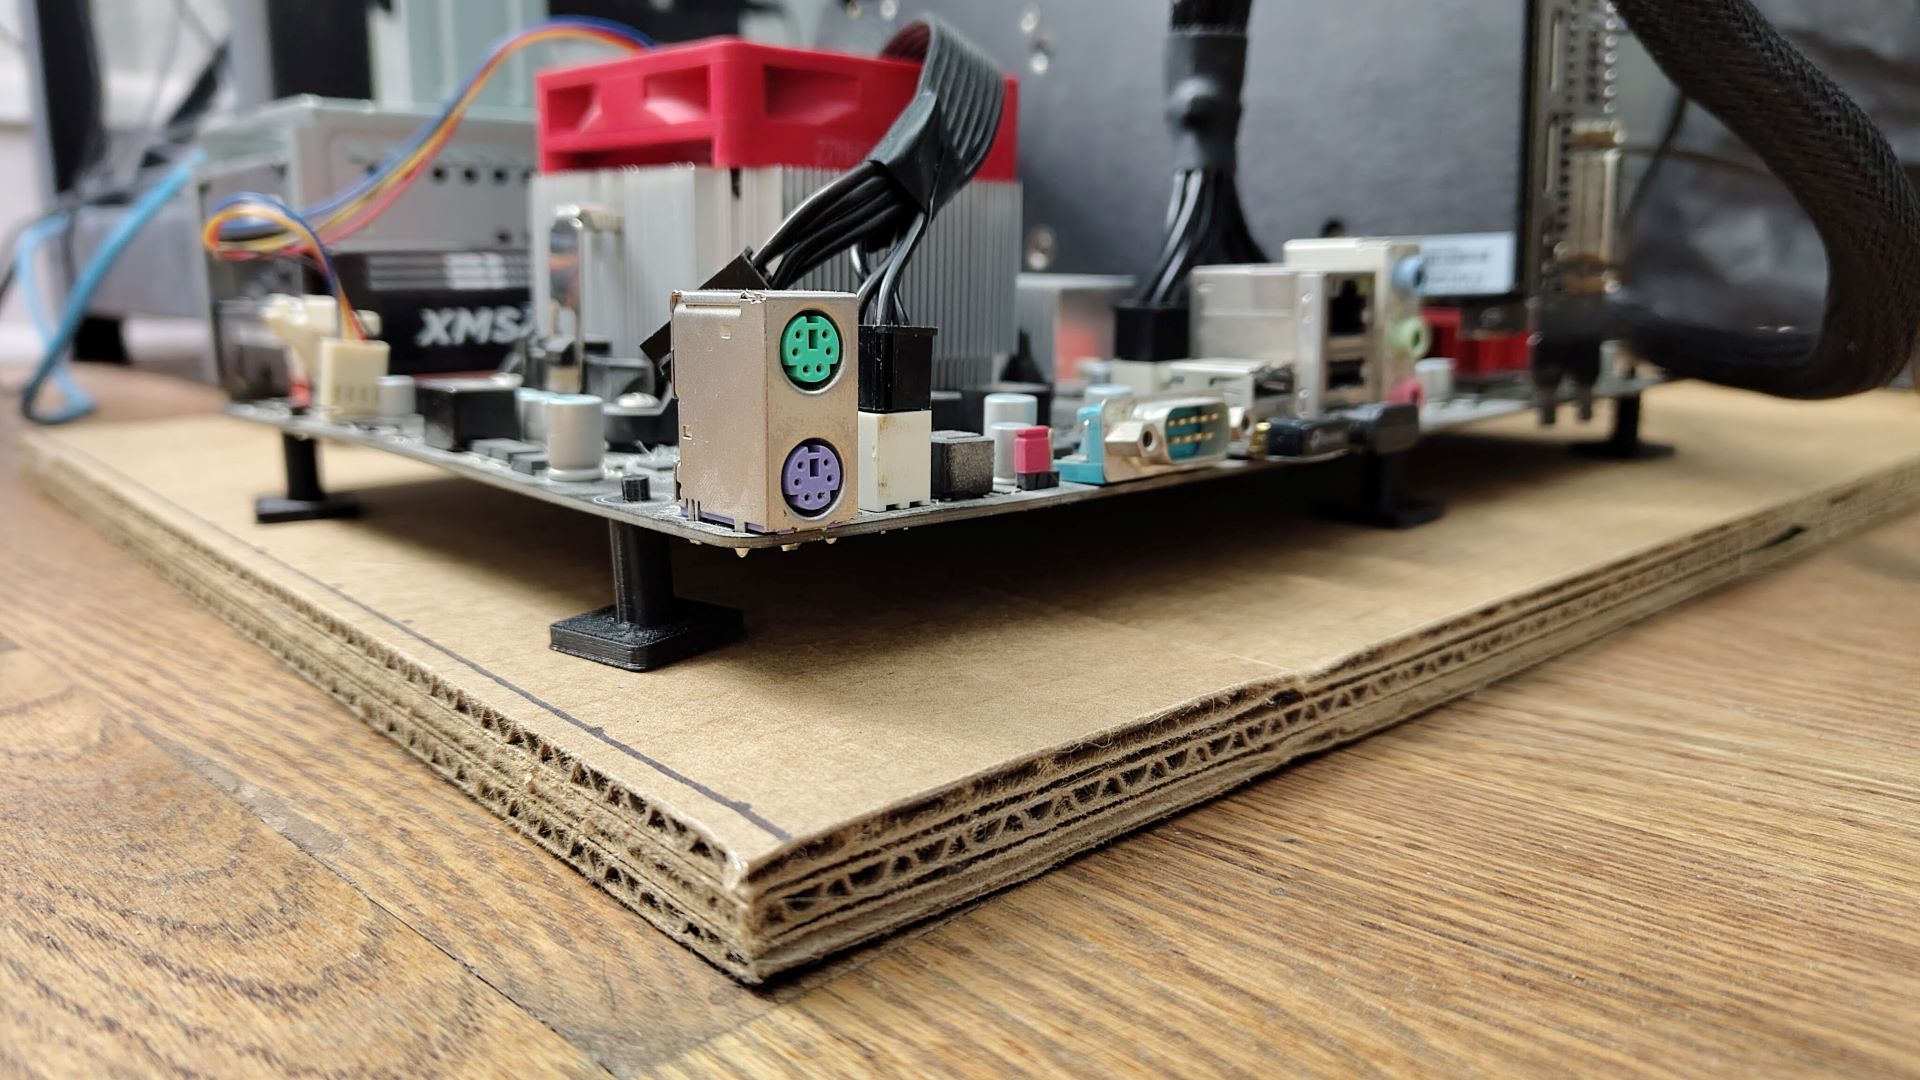
^ Mobo standoff closeups
The Server
With the parts now having a home, it was time to say bye to Batocera and hello to Proxmox! I wanted to try Proxmox out for a couple of reasons: 1 it's widely used and heavily tested 2. I am pretty comfortable with containers due to my work and 3. I just wanted ta try it out :) I will be able to set up NAS services to interface remotely with my storage drives connected to the server, as well as finally set up local photo/video storage (Immich replacing google cloud), media streaming (Jellyfin to serve locally owned media over LAN), and other cool services (ROMM for game roms and remote play, local Kiwix serving all of wikipedia locally, etc.) easily on one machine. I really have been enjoying the modularity and scalability of Proxmox. It does have a slightly cryptic learning curve, but once you set up a few LXCs hosting docker containers you get the hang of setting up most other LXCs hosting docker containers. I would bet that most people have problems with storage and device passthroughs in Proxmox (I still haven't been able to get the GPU successfully passed into my Jellyfin or Immich containers for transcoding and ML features) but overall it has been an enjoyable and reliable experience.
^ Bye Bye Batocera
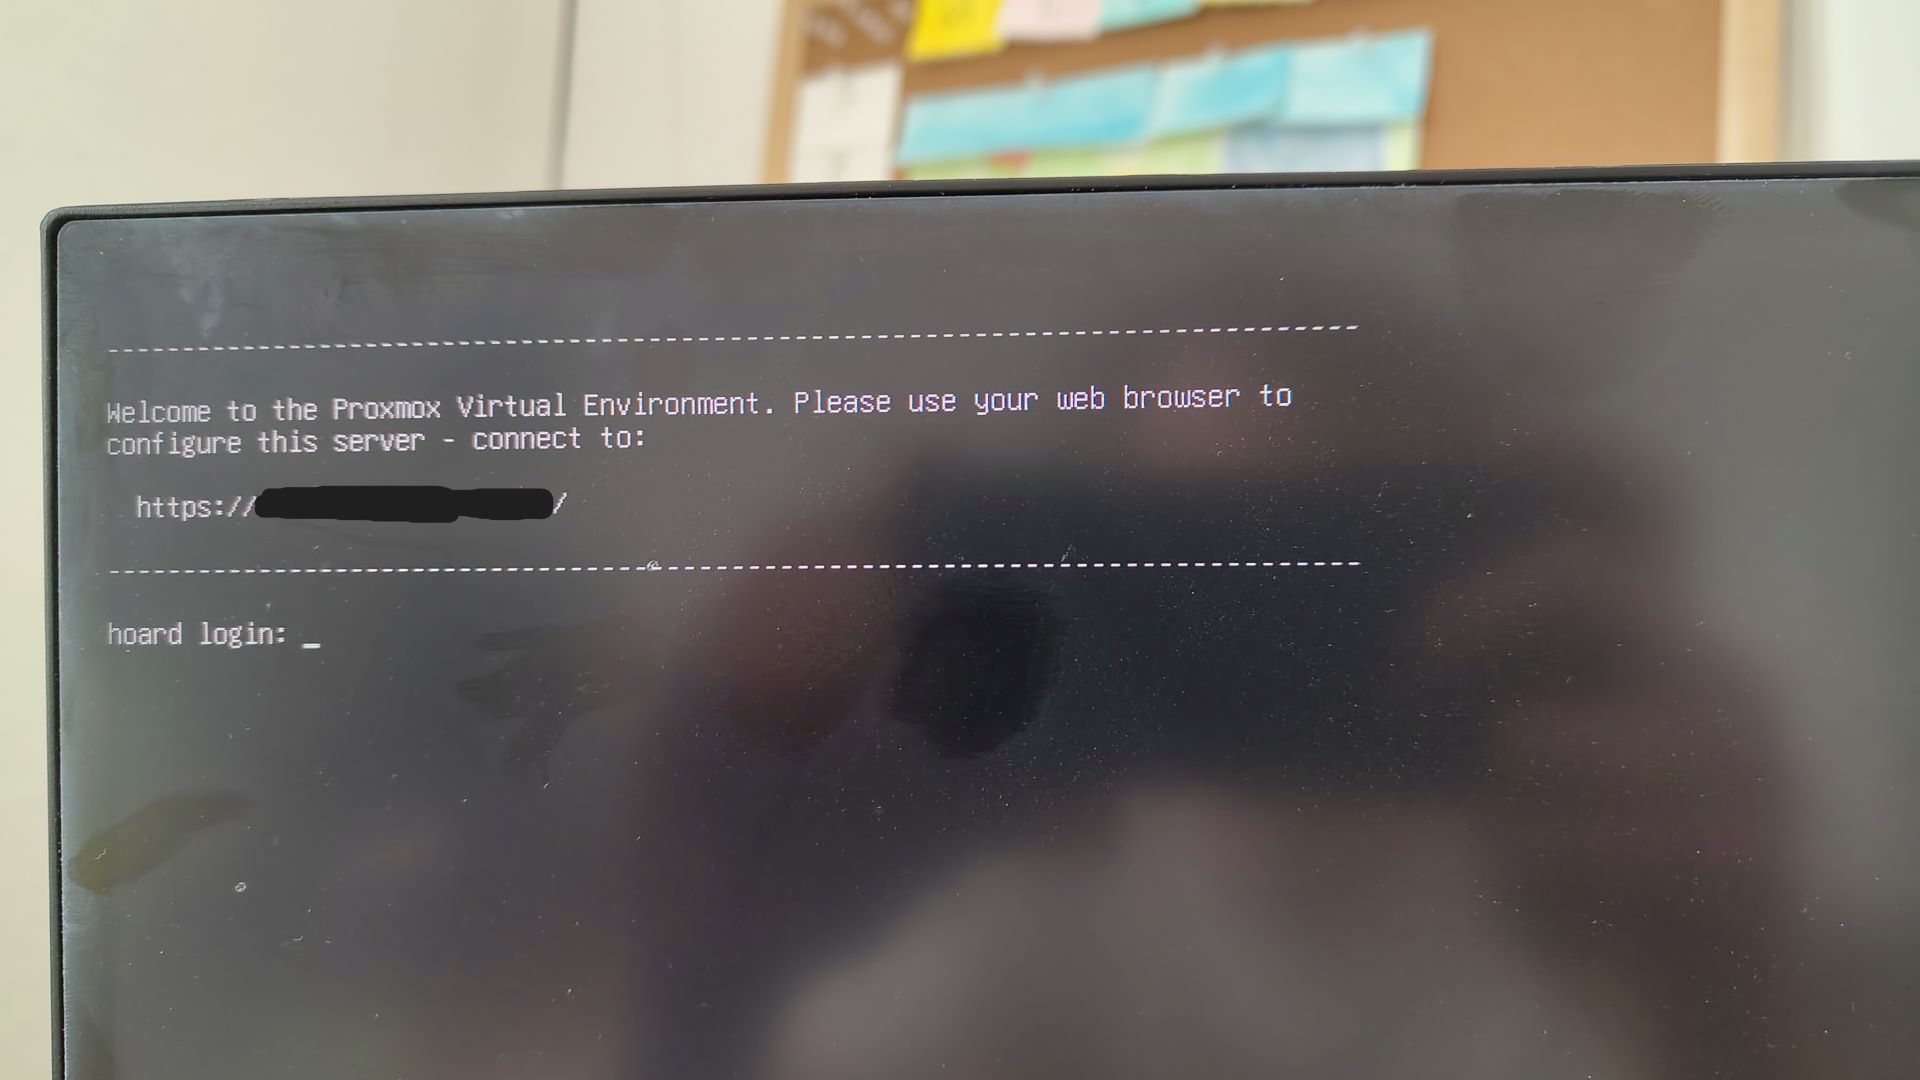
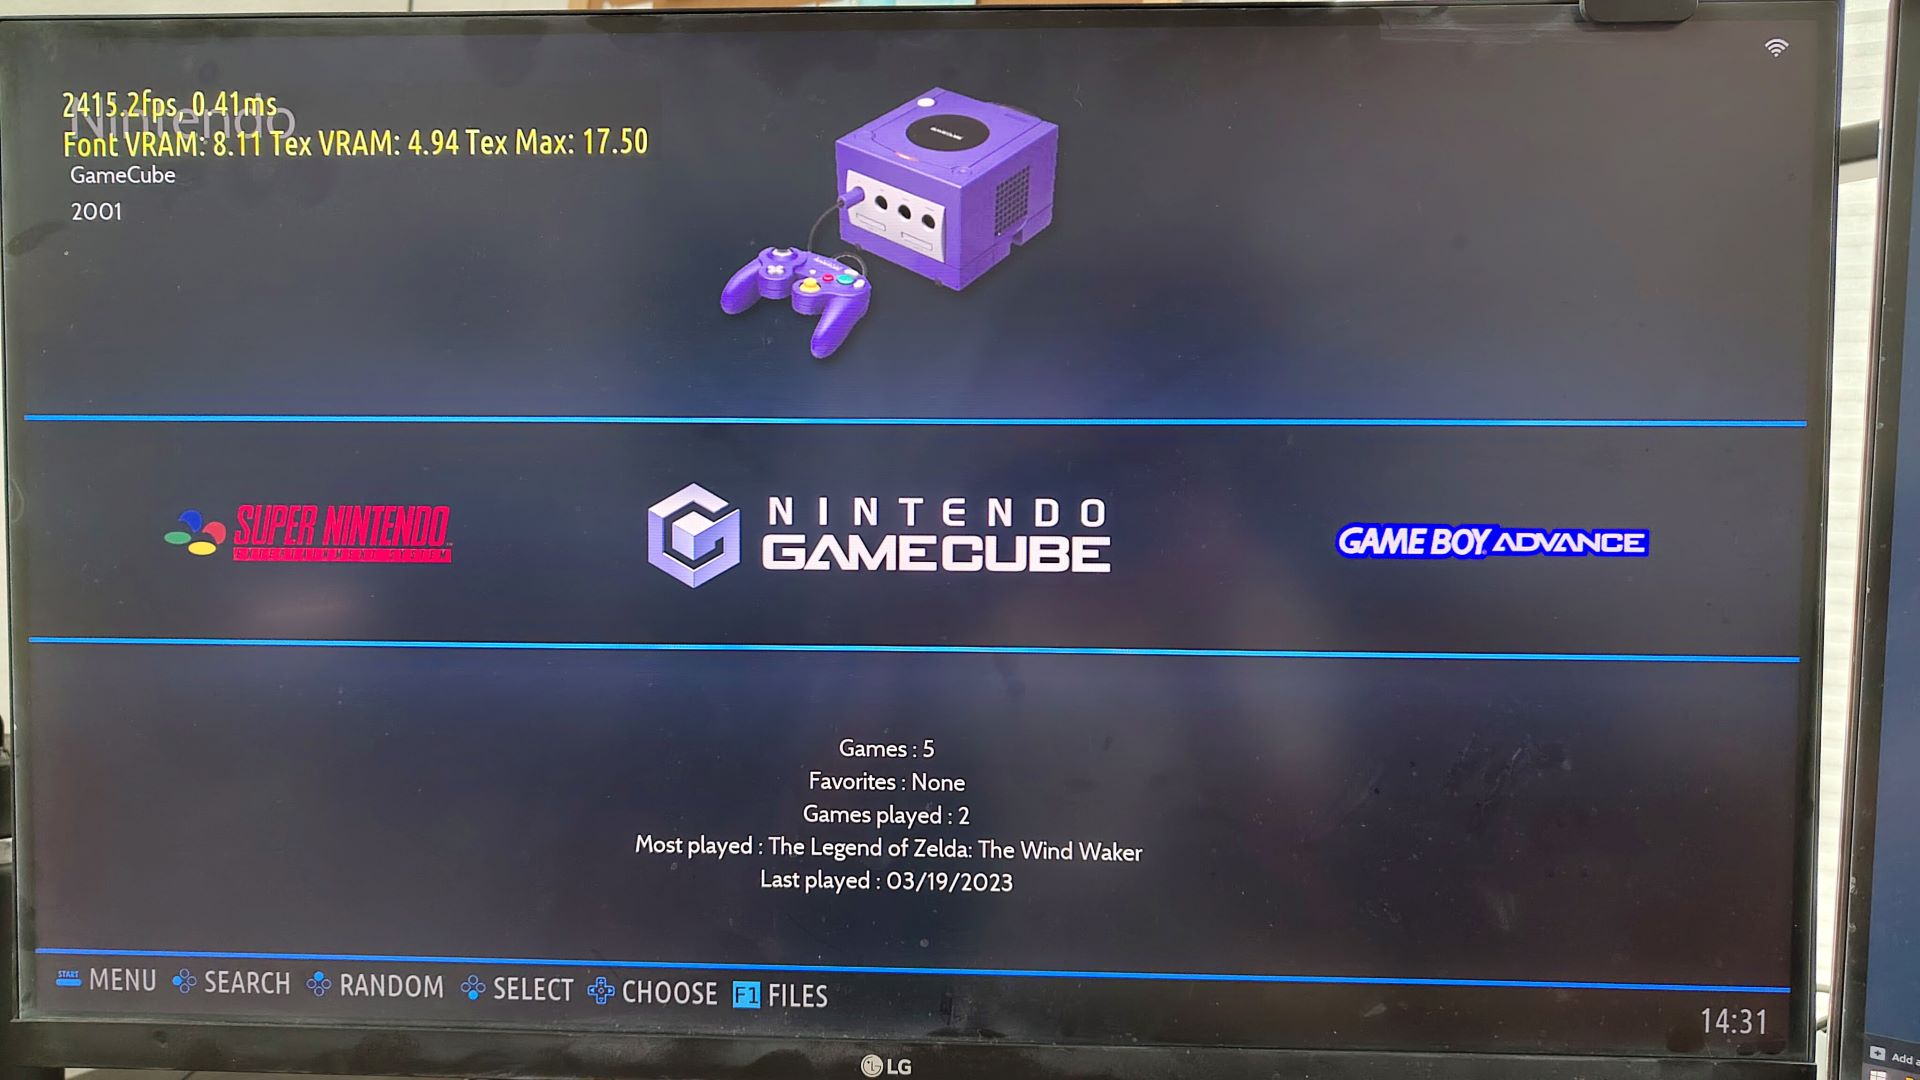
^ Hello Proxmox
The Problem
Sometimes when you do things those things need to be slightly redone in order for the thing you did to be a good thing. For instance, I didn't spend $35 on a BROR shelf or $50 on a new computer case and instead I spent 35 minutes cutting out a cardboard shelf for my BROR rack. Good :) However....
^ BAAAAAADDD
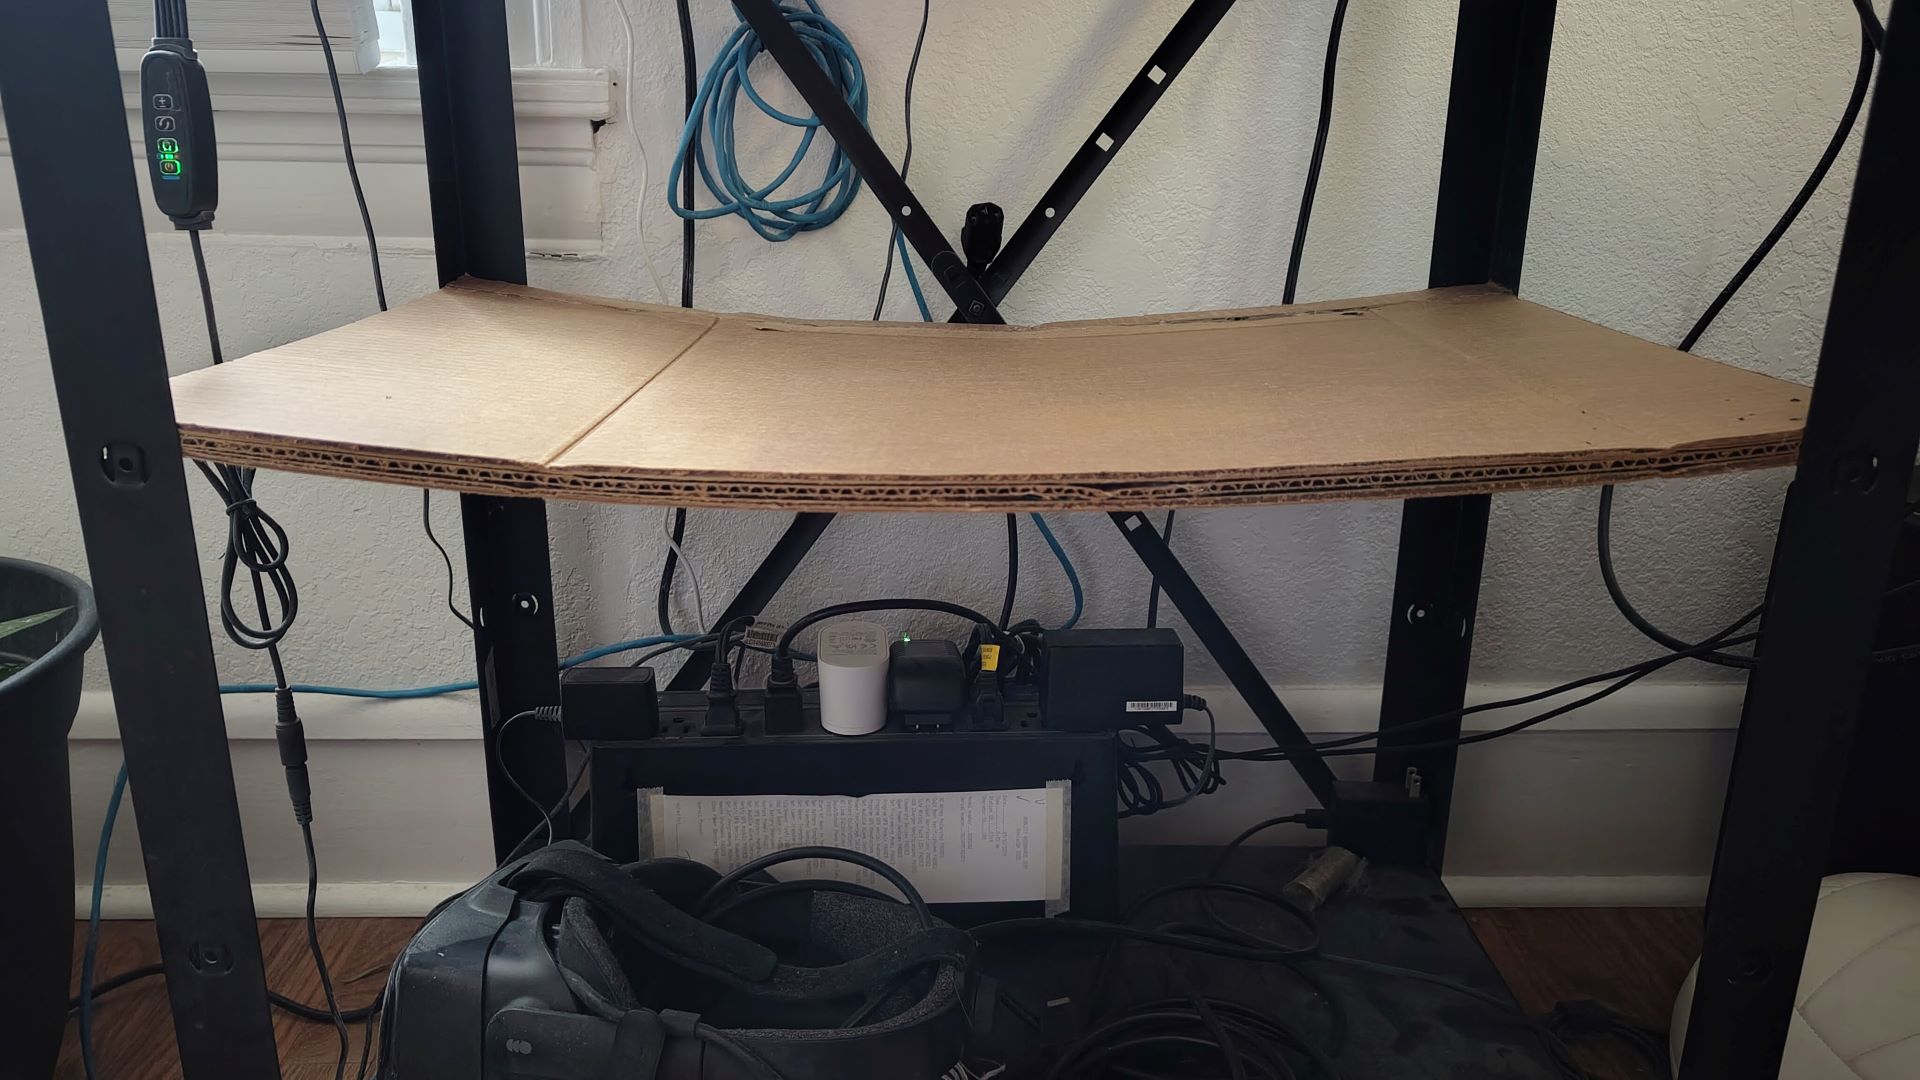
After 2 weeks the shelf had expectedly begun sagging as it was only supported by 2mm of metal in each corner and the hopes and dreams of the trees inside of it in the center. I figured this would be the case, so I had created a bracket in the meantime that can attach onto any BROR shelving rack to give more support for a free-form shelf like this one:
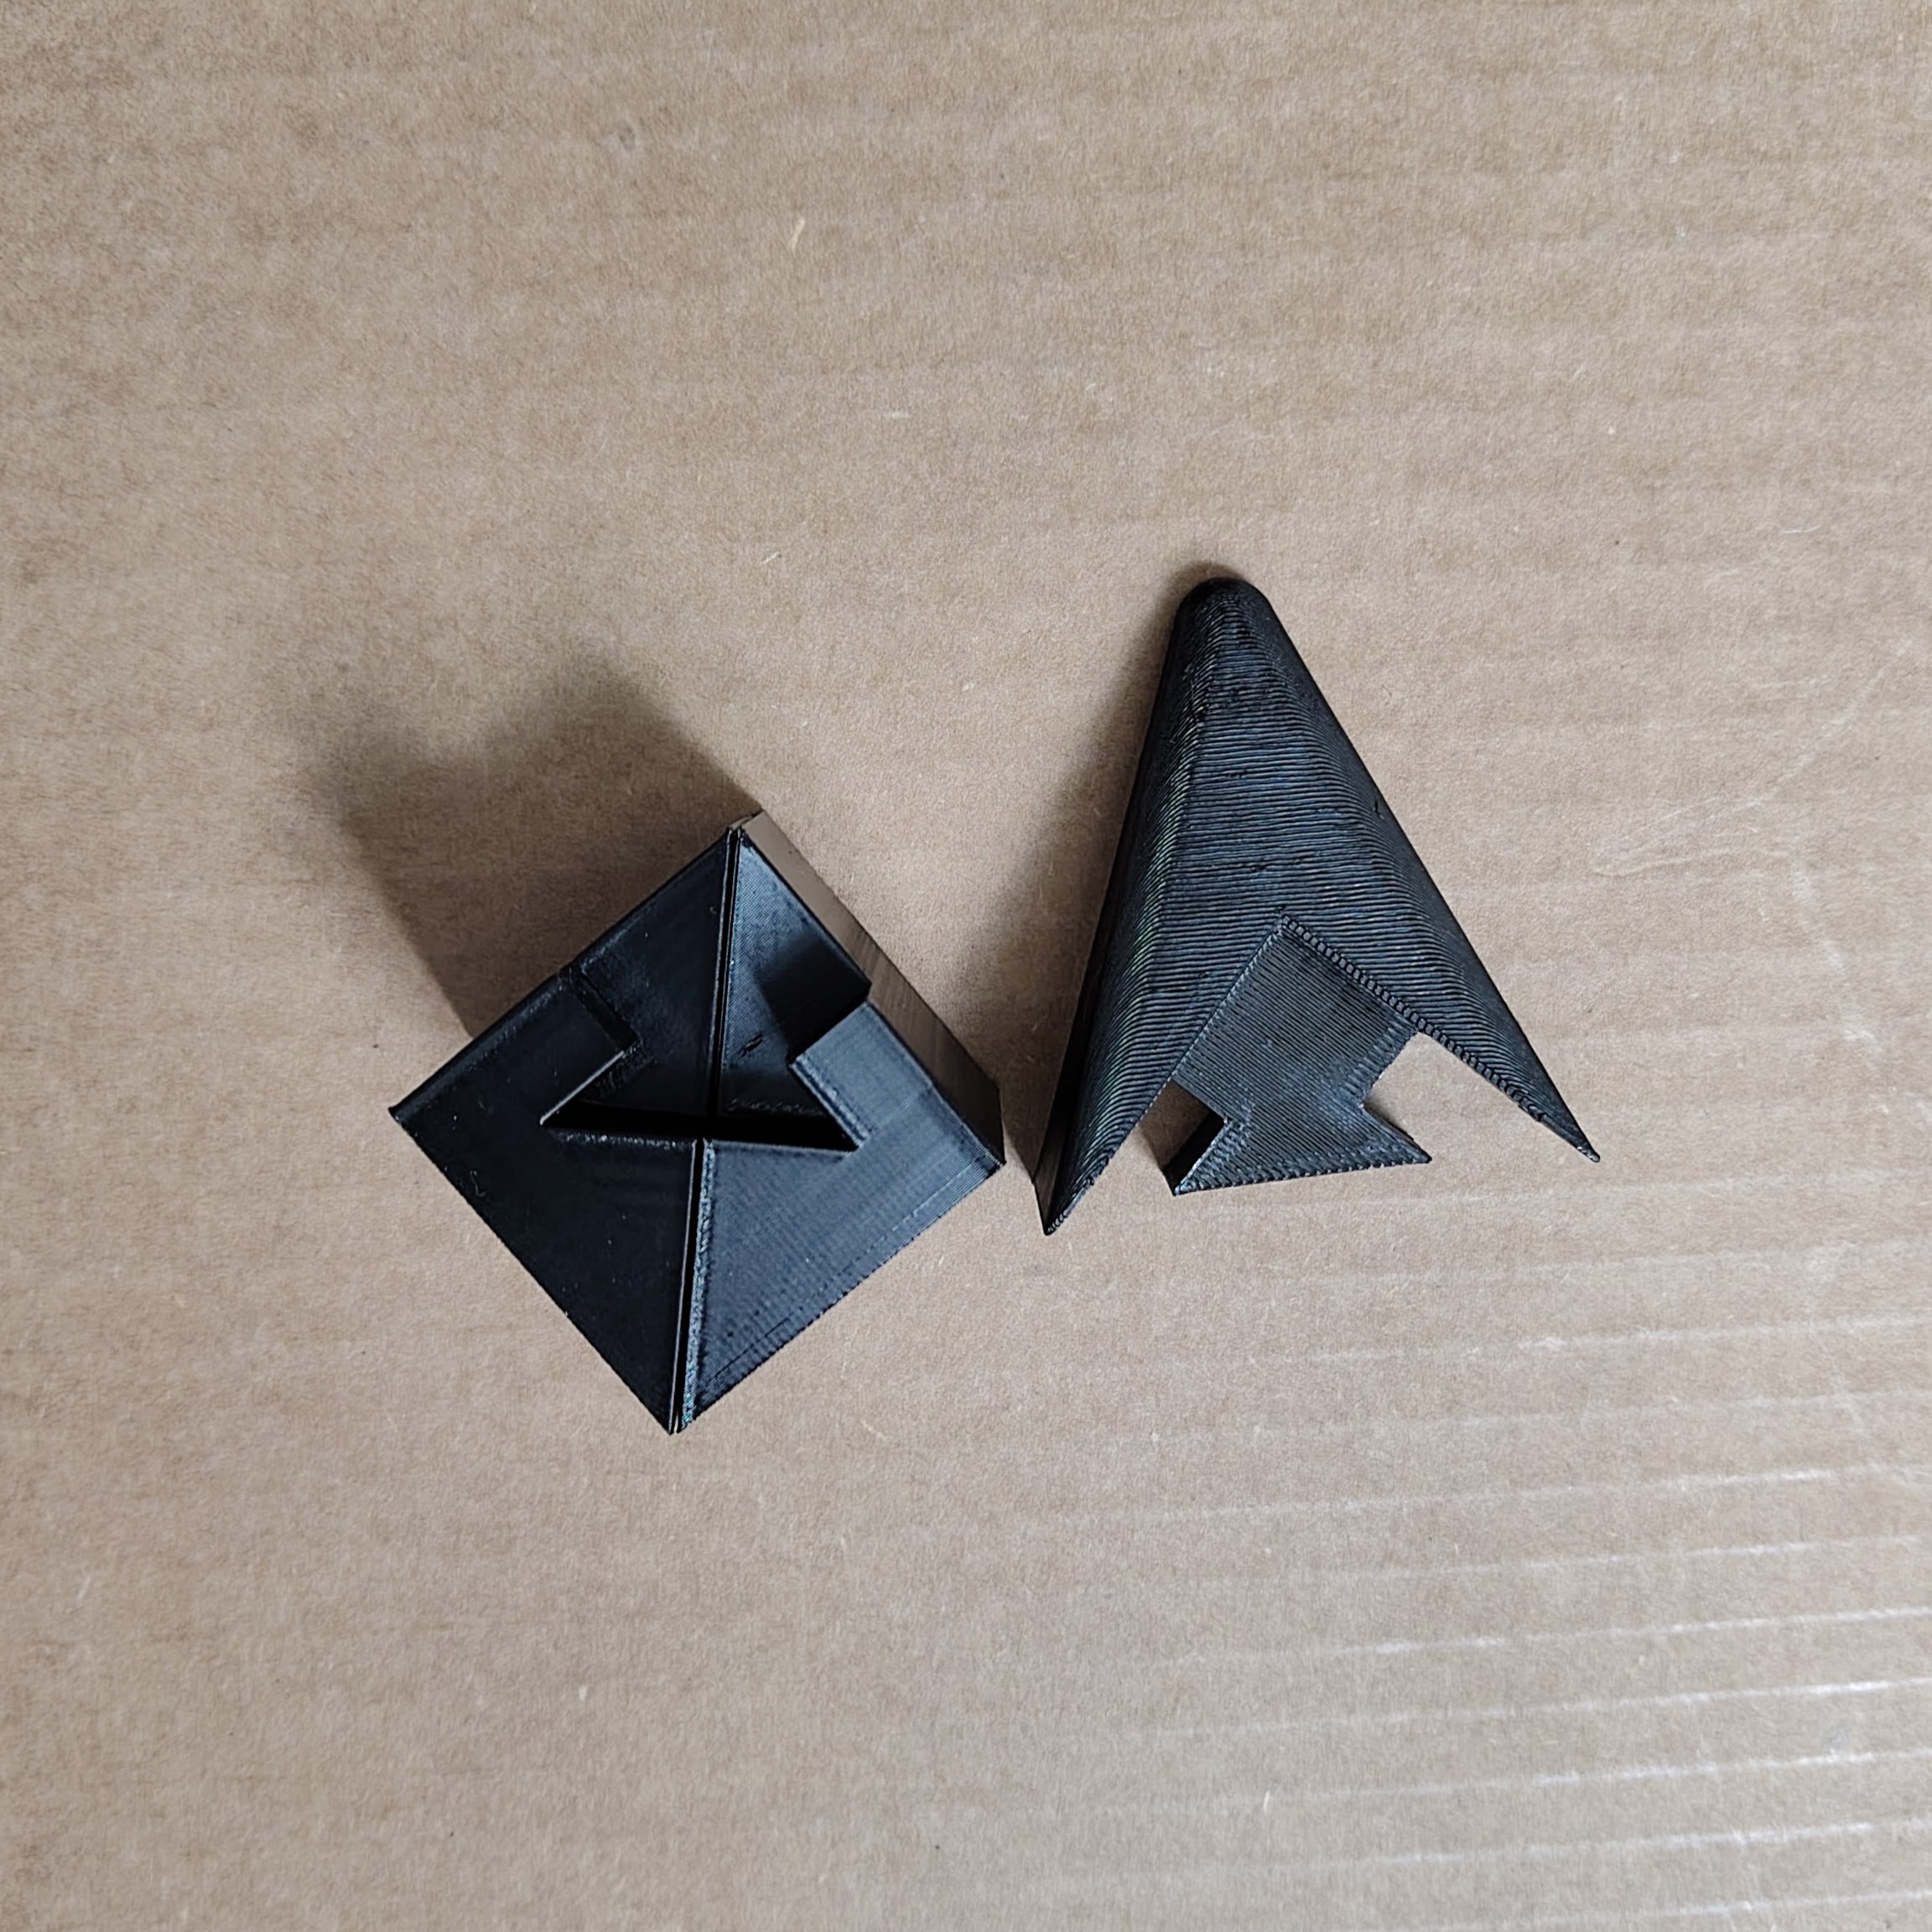
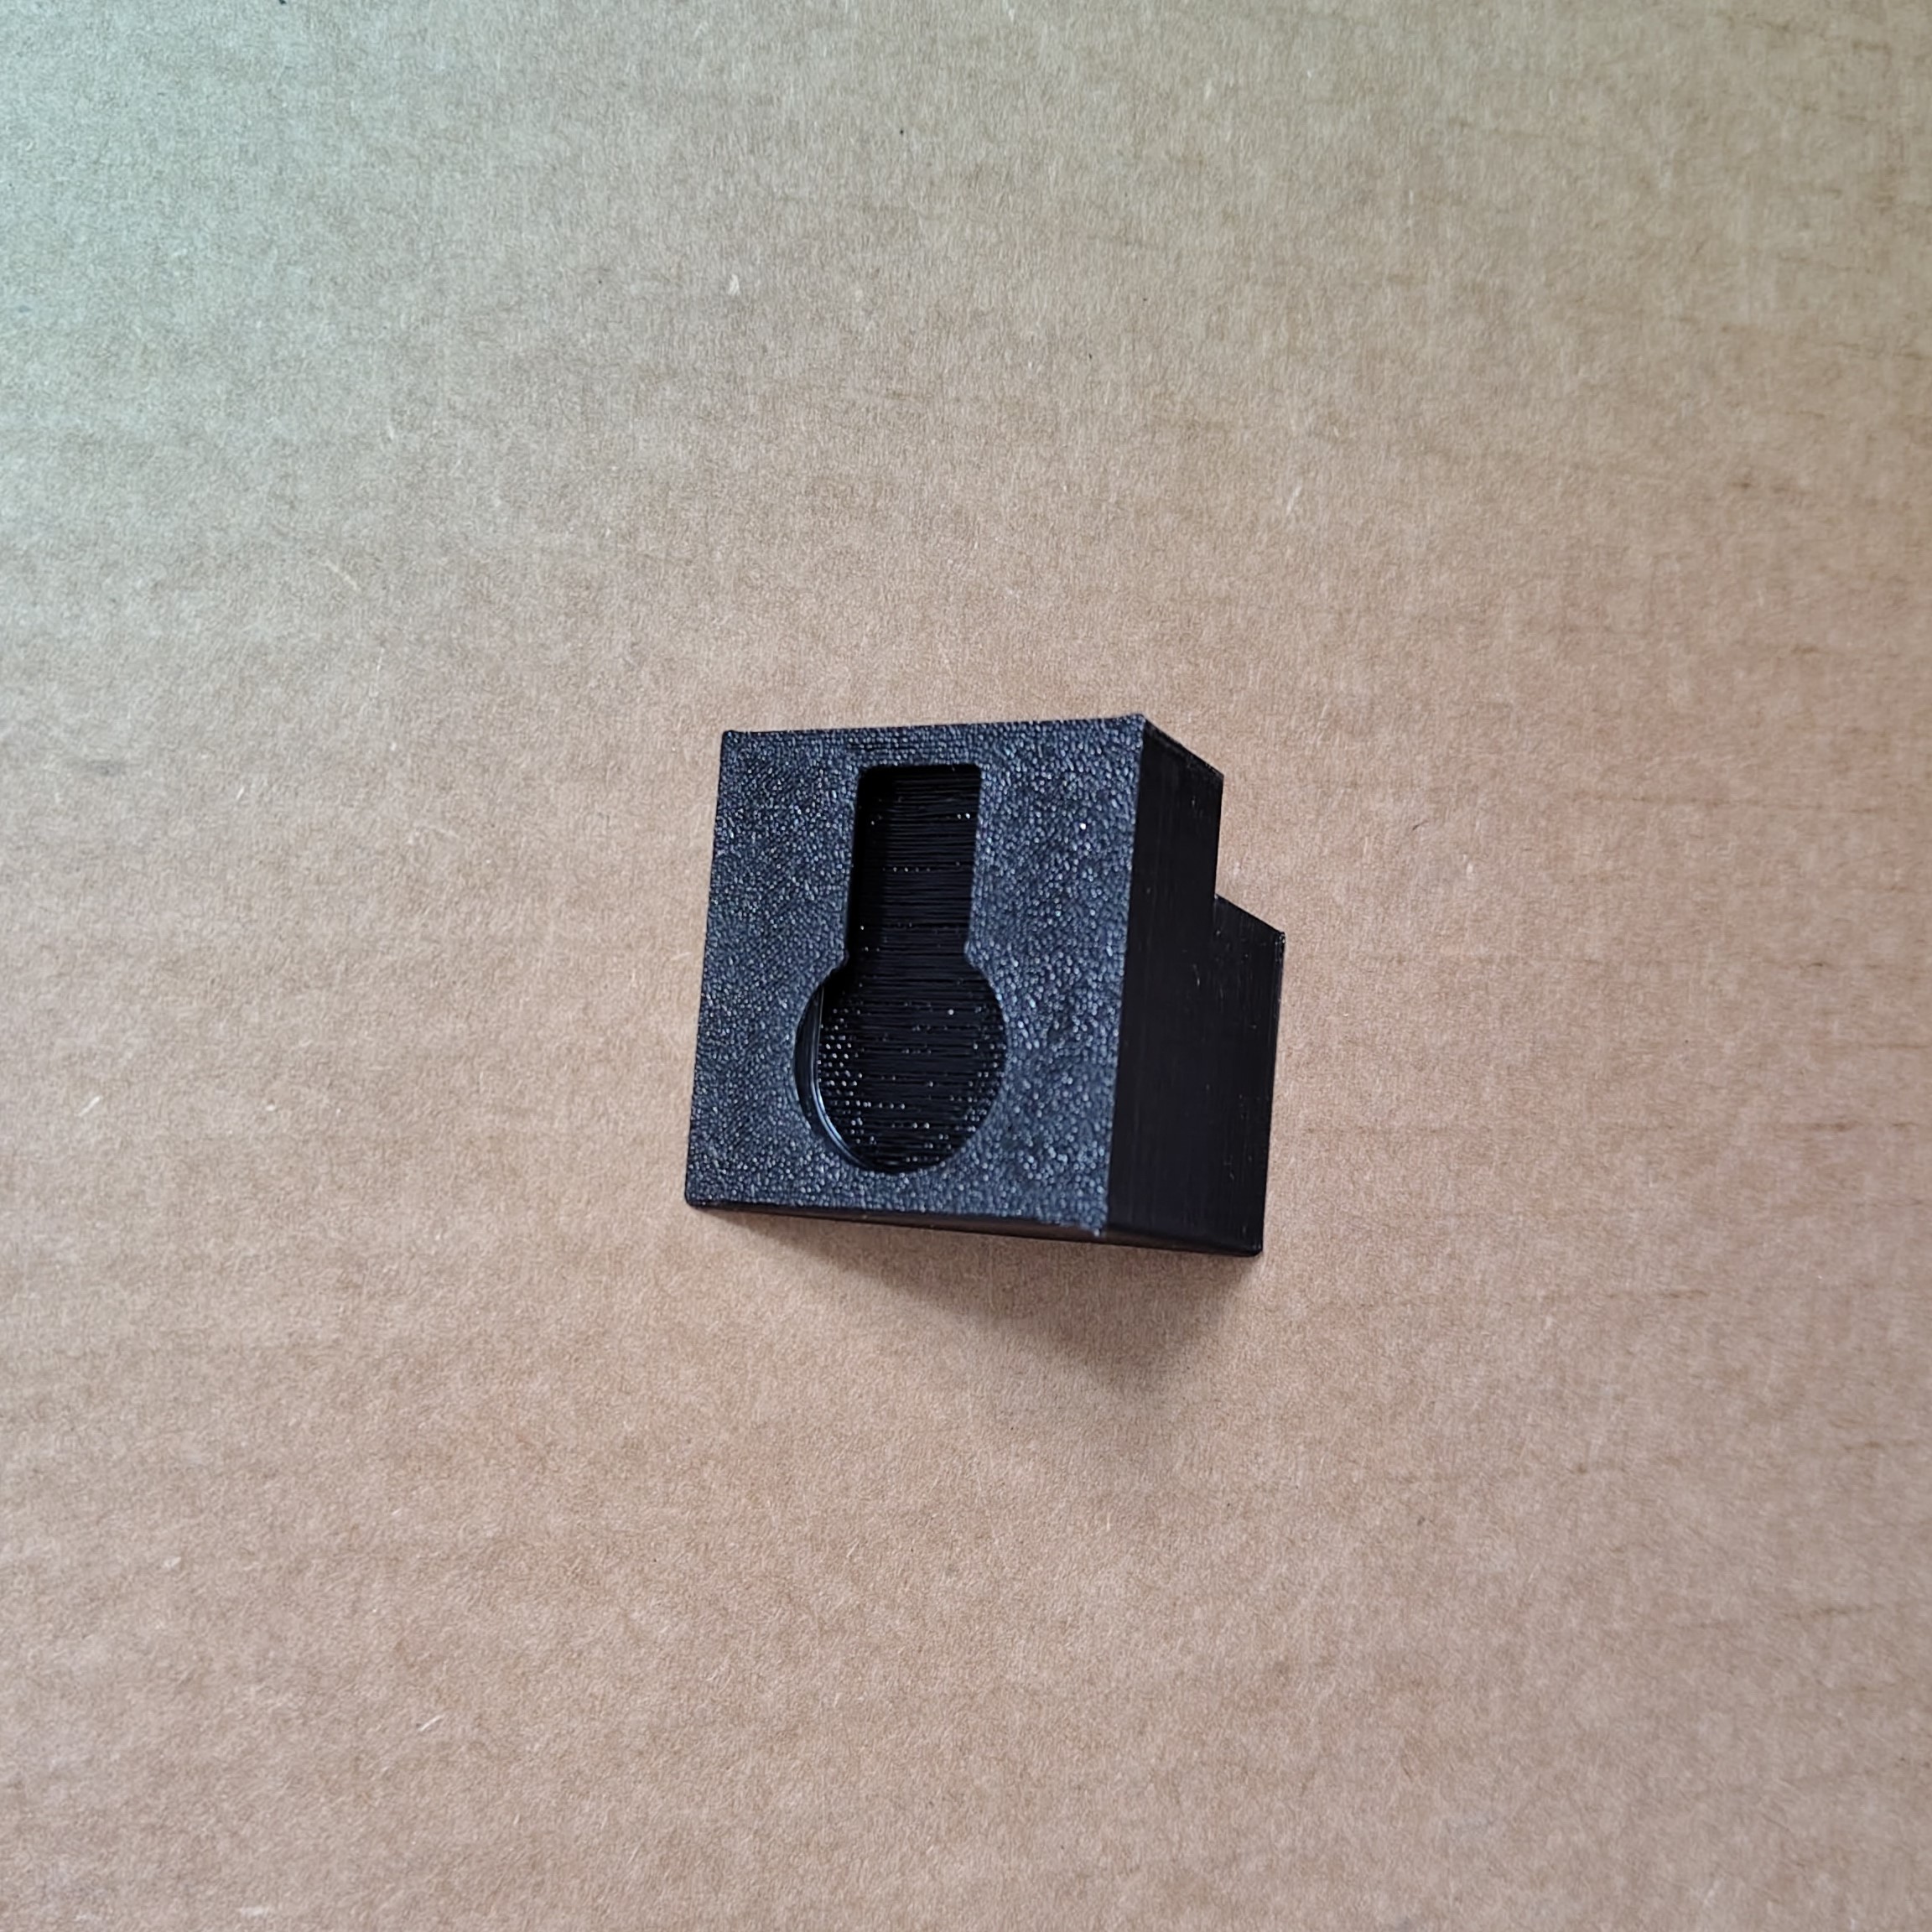
^ Bracket bits
This bracket is a 3 part dovetail design, where each of the more square bits hooks into the BROR fastener surfaces, and then the triangular arm bit locks everything together and provides support. Even at modest print settings these brackets are quite strong. The four of them can hold far more weight than anything I'd ever put on my BROR rack. Here's the link to the part if you want it: https://than.gs/m/1533826
Now my shelf is much happier and less saggy:
^Arms supported
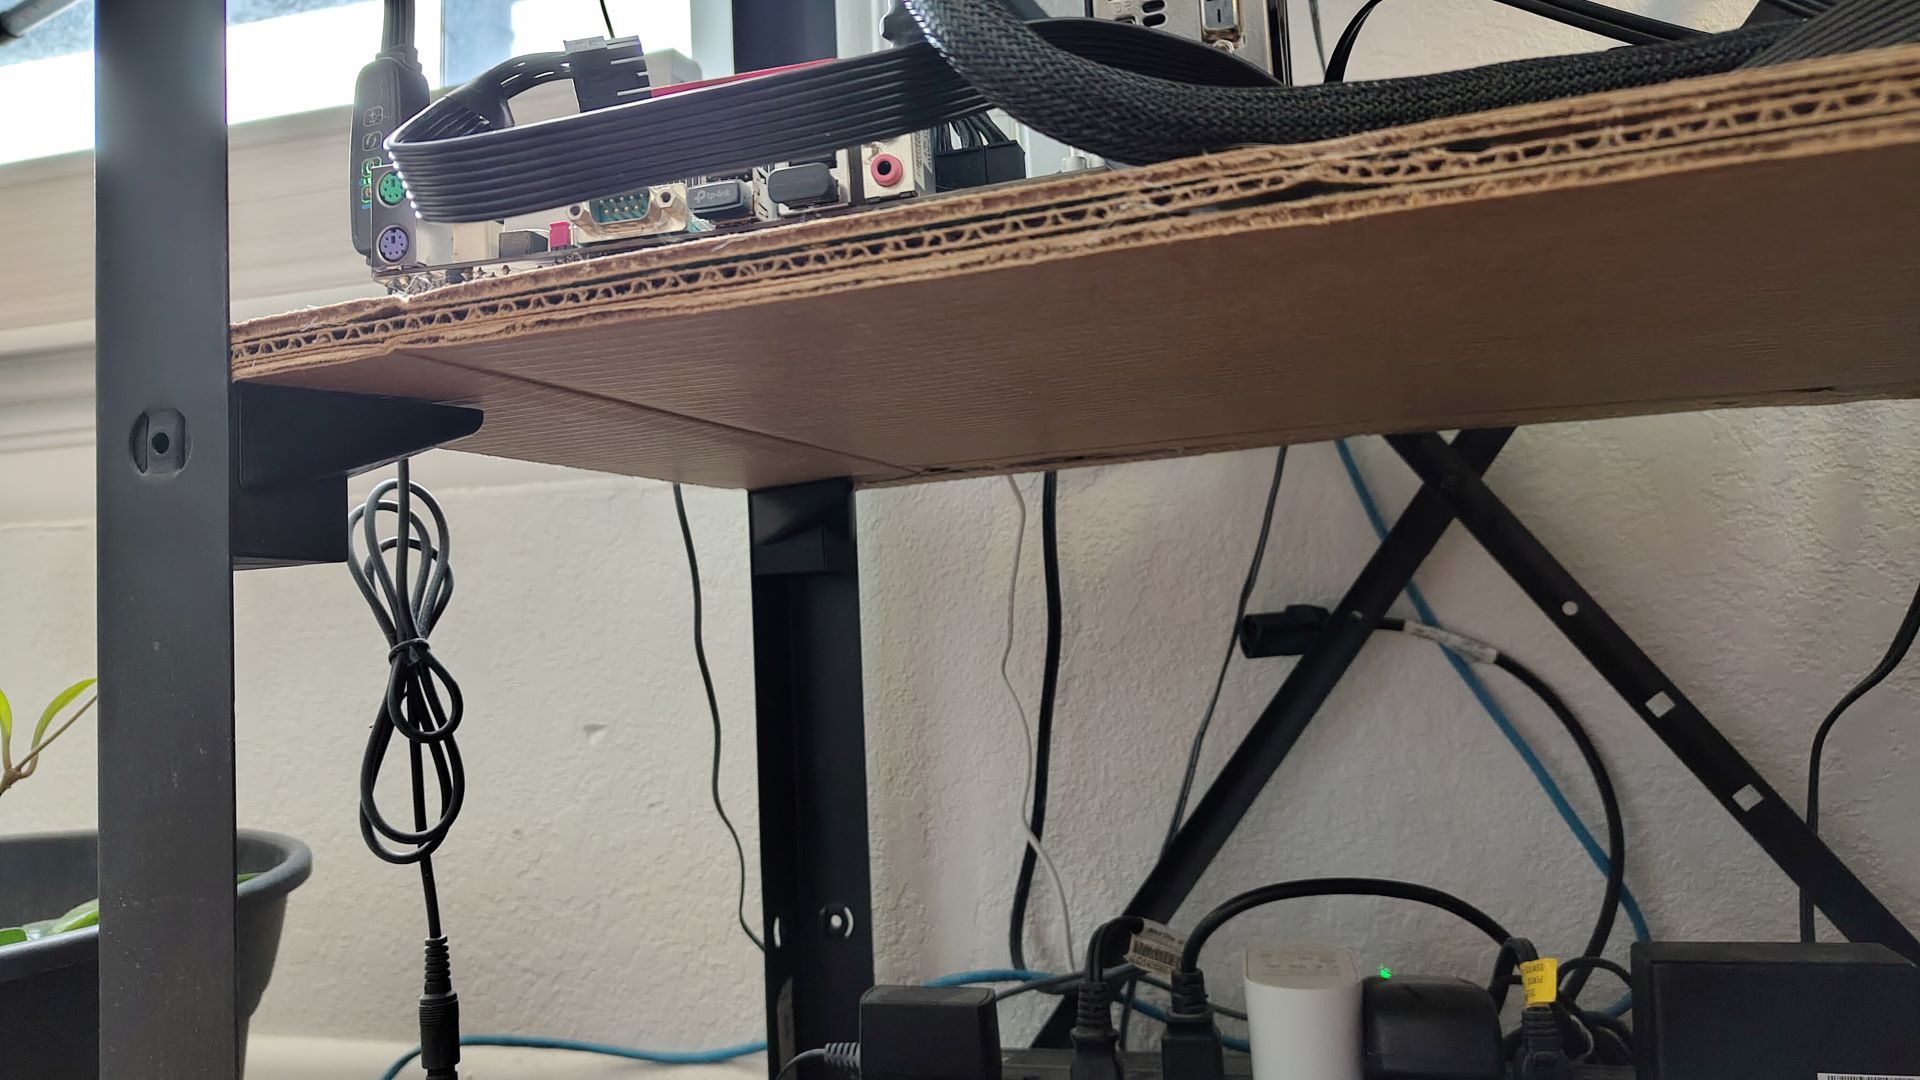
^ Underside
Thanks for reading! Hope you make a computer case out of cardboard.
:)